Because it’s all fun and stuff. Juggling with metal studs. I do it every day. I eat them for breakfast.
No, not really.
But I did have to do a lot of planning to set up the frame, and that’s what we’ll be talking about today.
The possibilities
I wanted the ceilings to be as high as possible. A high ceiling provides a more spacious feel, and it suits the house. No discussion there. As with the kitchen, I had a few choices: a wooden frame, a single metal frame or a double metal frame. I didn’t see a wooden frame work, so the choice was between either metal options. With all the trouble I already had from attaching the electric cables to the ceiling and the experience from the kitchen, I opted once more for the double metal frame.
The constraints
Life’s too easy if there are none. And we don’t do easy. Never!
First of all there are the two beams I needed to work around (what a discovery that was). The lowest beam was going to get drywall all around, so for that I had a solution with wooden plates in mind (already partly done by the previous owners). That also meant there was no problem at all for the dining room part: I could literally do whatever I wanted to get the frame inplace. The living room part on the other hand…
The second beam minus the height for the cables to pass defined the ceiling height. Unfortunately that’s about 3, 4 cm lower than the height of the opening for the windows and shutters… So in the bay window I couldn’t attach a metal stud to the wall (I’d rather not drill in the concrete beam above a window anyway). That beam also made me split up the frame in two parts, one on either side. As I didn’t have any wall support there either, I would have to be creative…
Other constraints I had to take into account: the size of one panel, and the requirements for hanging up the frame (which I’ll explain in a minute).
Planning time
The recommended way to hang everything up is to work perpendicular: have a layer parallel to the street, the next perpendicular to it, and so on. I wanted to have a metal stud hanging from the ceiling, parallel to the street, in the bay window againts the wall (to mimick the support that would otherwise have been there). That pretty much defined every direction: the upper layer of metal studs would be parallel to the street, as would be the drywall plates. The layer of metal studs in between would then be perpendicular to them.
Then I started sketching. The lower layer of metal studs should be 50 cm or less apart (when working perpendicular like I do), center to center. The drywall panels are 260 cm long. I know there’s a logic behind everything, but the person responsible for those decisions must have had an off day when he made them. In any case you’ll need at least 7 studs to support one panel (actually, 6 will do, because the first one is either alrady up against the wall or hanging from the previous panel, but you catch my drift). That way I have some play to move them around so that I could start a new row with the leftover panel from the previous row.
After a lot of tinkering I found this placement to work out best for our living room: start at the wall between entrance and living room and have the first two studs at 50 cm each, then space the remaining studs 40 cm apart. Repeat whenever you reach a multiple of 260 cm. This worked out for us because our living room is just shy of 6 m wide, so with a mimimum of drywall loss we could start a new row (it never works out exactly right anyway). Coincidentally (or not) this also worked out perfect along the beam.


In the dining room I did the opposite: start against the wall shared with the neighbour, first space the studs 40 cm apart until you’re at 160 cm, then two studs spaced apart 50 cm. Since we only have 4 m here, the remaining studs then were spaced 40 cm apart again.

I now had the drywall and the lower layer of metal studs planned, but how about the upper layer? There are two options: you can space out your suspension points 125 cm (max) apart in both directions, or you can space them out 100 cm (max) in one direction and 160 cm (max) in the other (source, alas not available in English, Dutch or French only…). For the smallest part of the living room I opted for the first one, for the large part of the living room and the dining room I used the second one.
The dimensions of the room made the decisions easy: 160 cm parallel to the street, 100 cm perpendicular to it. That way I had suspension points next to the beam (where I couldn’t get support otherwise), didn’t get in the way of the chimney, and could space everything out to be neatly organised without overkill.
Execution time
Plan twice, execute once.
After going through my plan multiple times, I ordered everything so we could start getting everything up. Remember the trouble hanging up the electric cables? It’s back. With a vengeance. Some places needed repeated drilling before the plug would hold. Other than that I’ll just let the pictures speak.
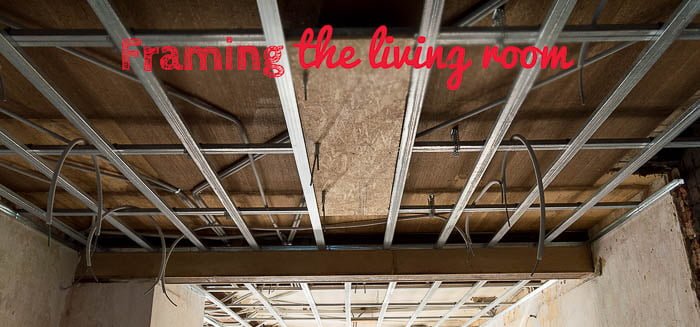
Upper layer in the dining room:
Note the wooden paneling around the beam:
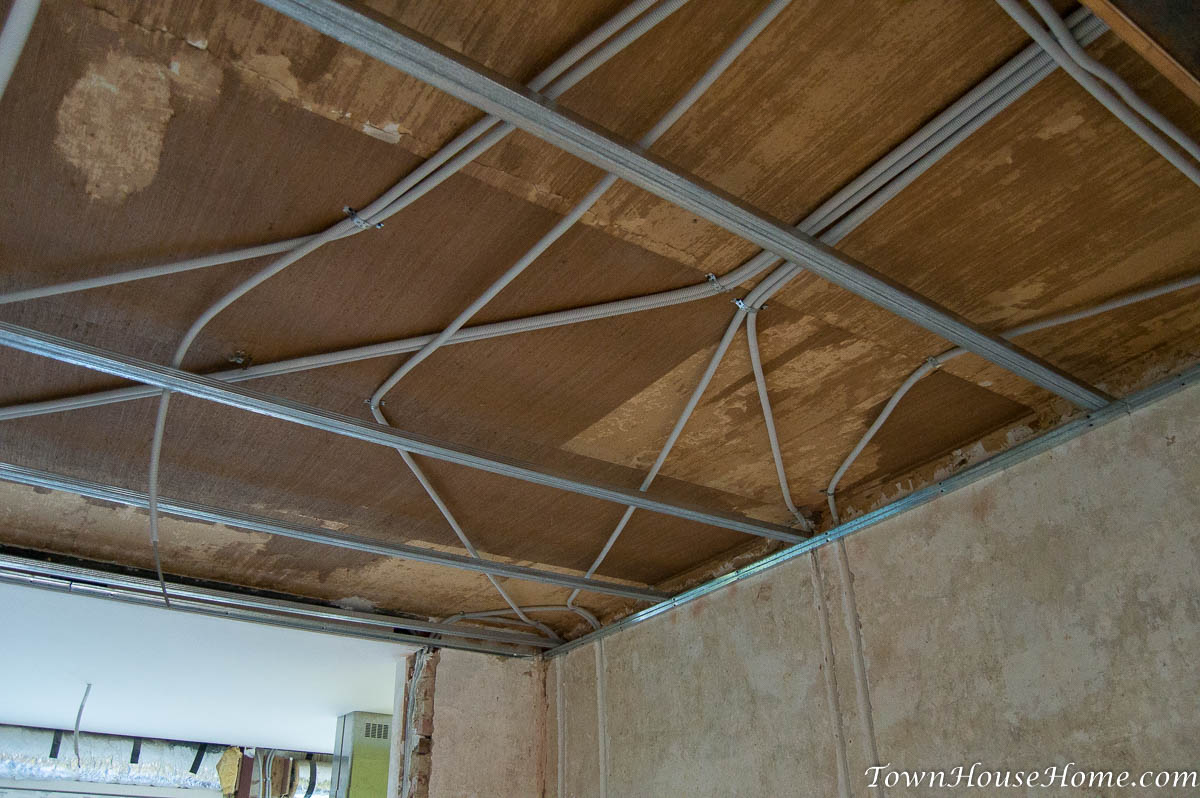
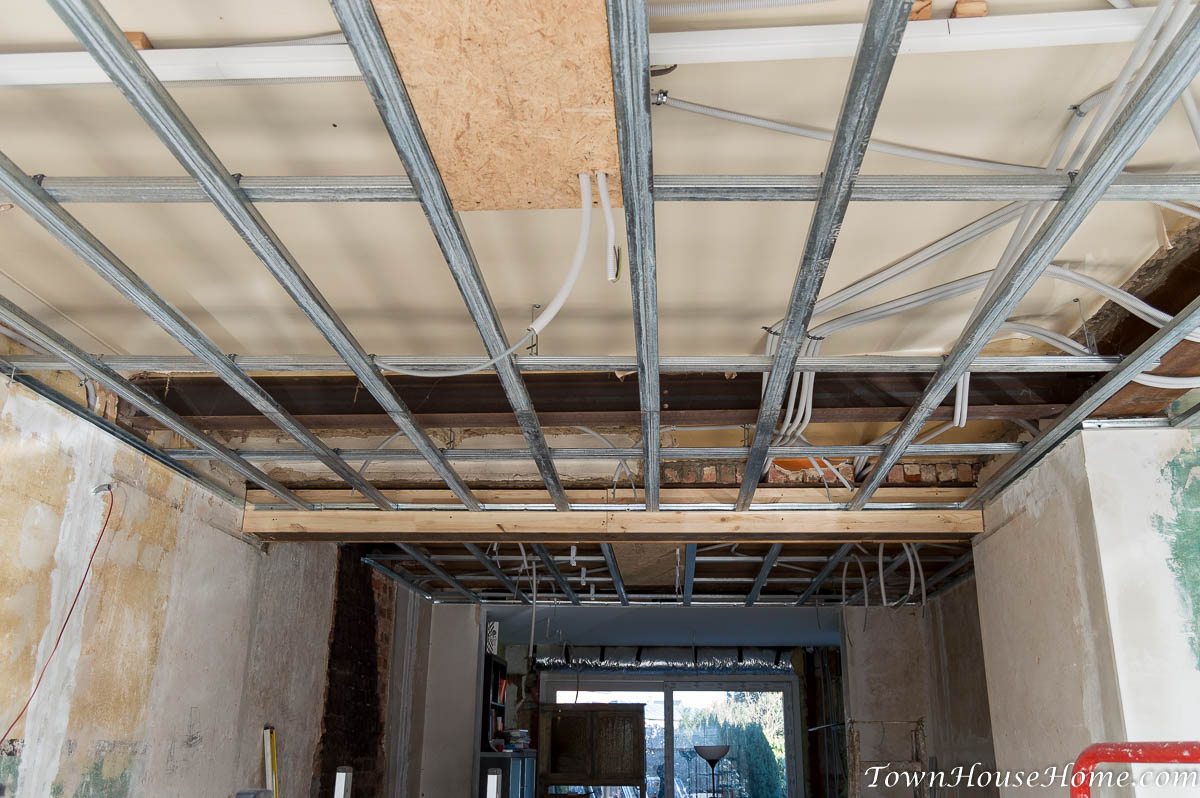
With the lower layer attached to it, and a plate of OSB to support the future chandeliers:
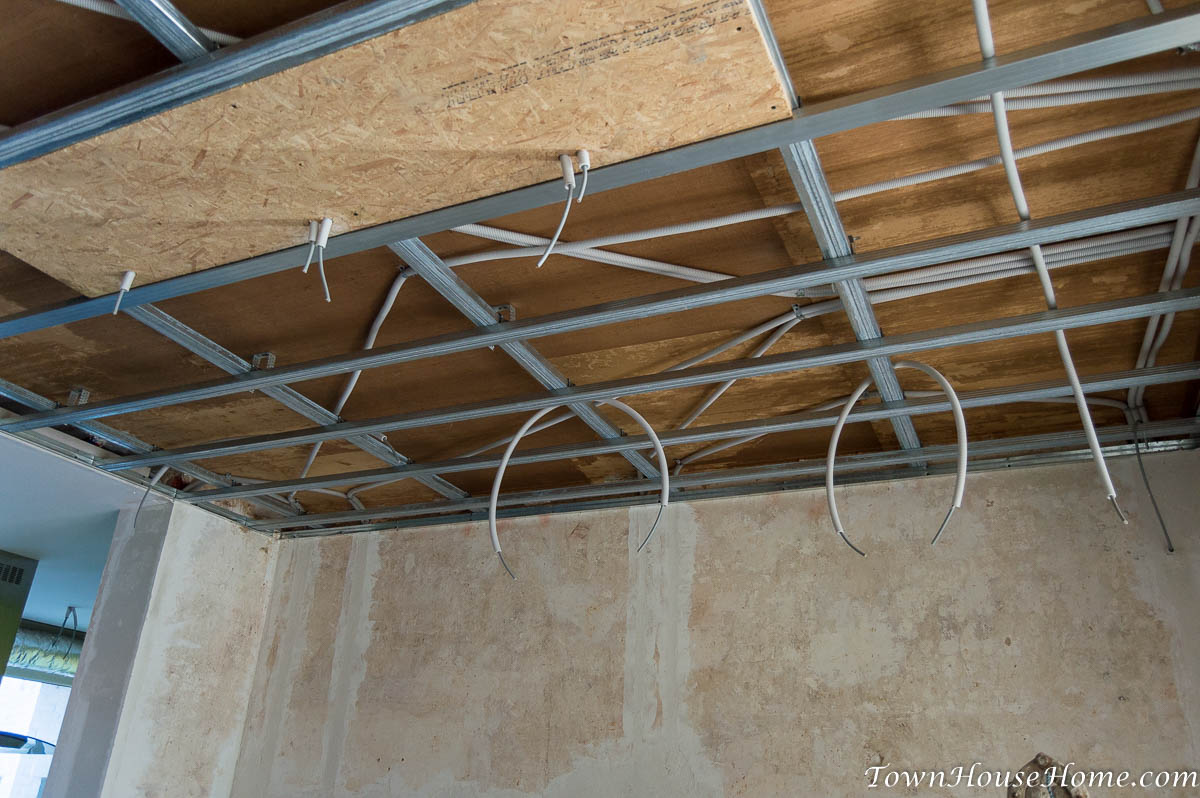
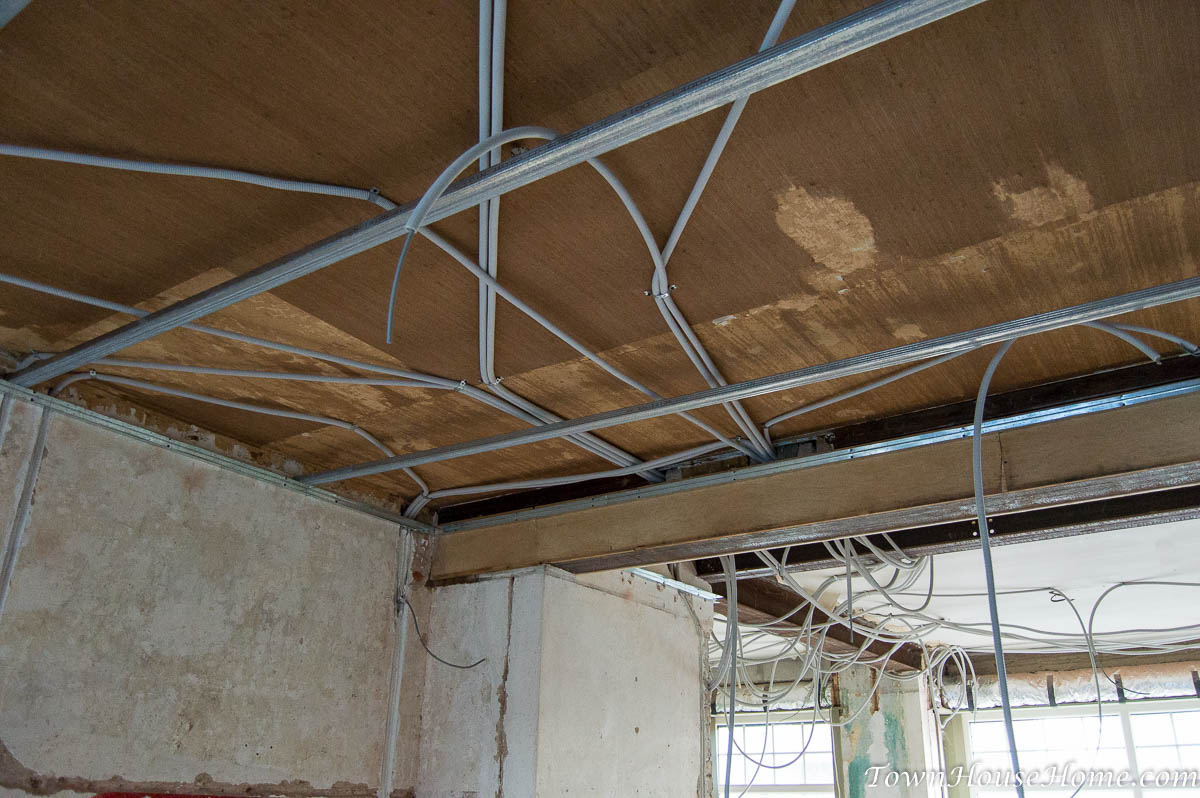
Looking into the living room, both layers up already, and more OSB for a chandelier:
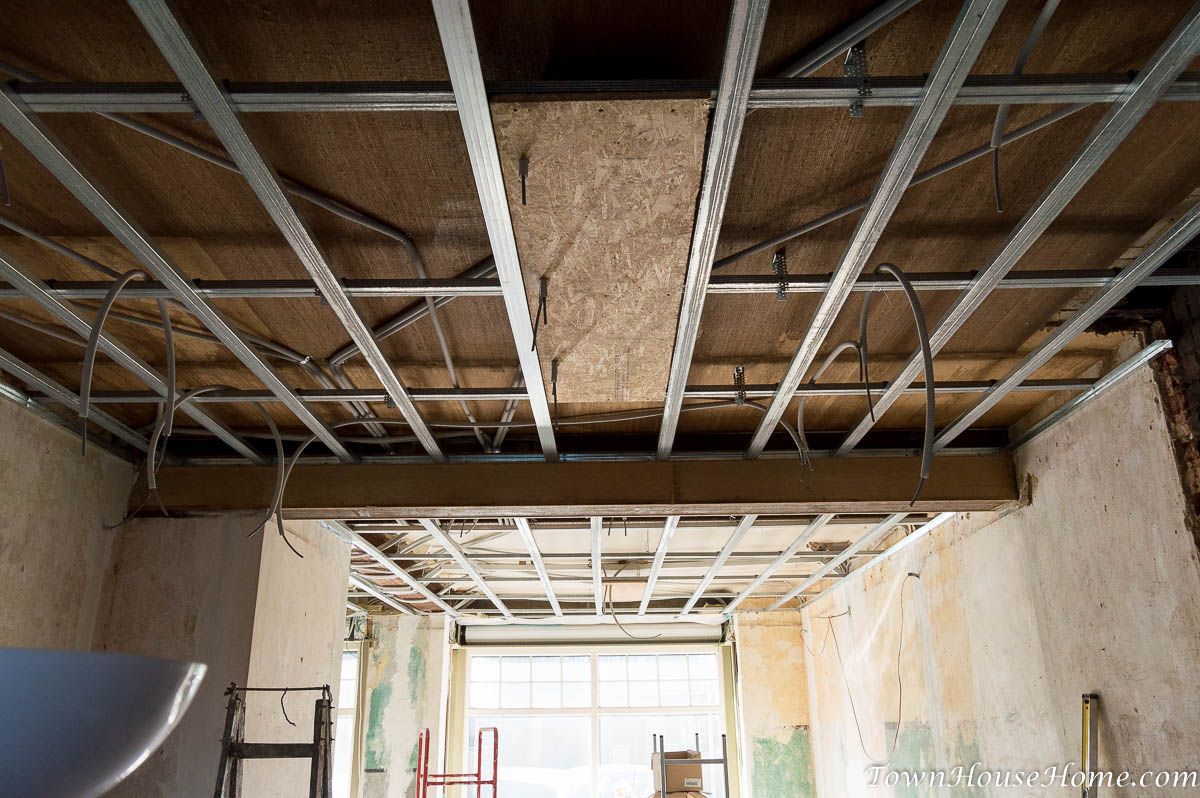
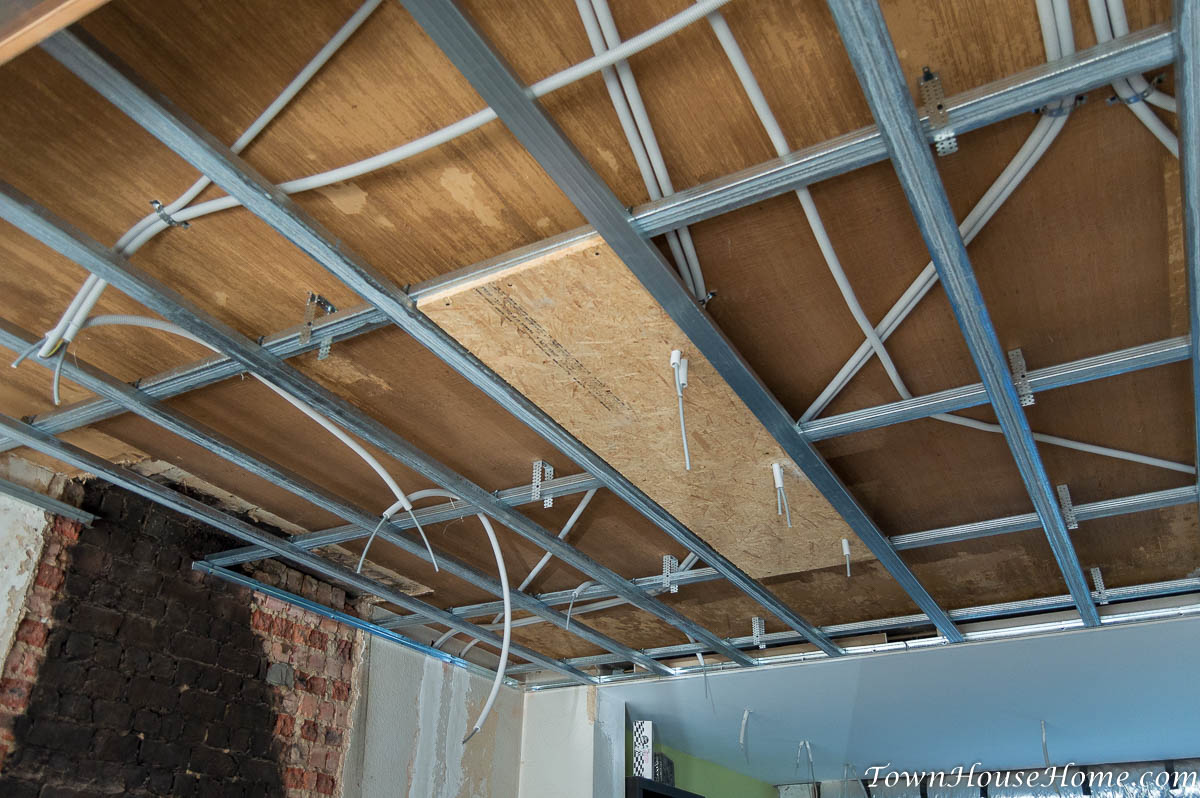
And the final part in the living room:
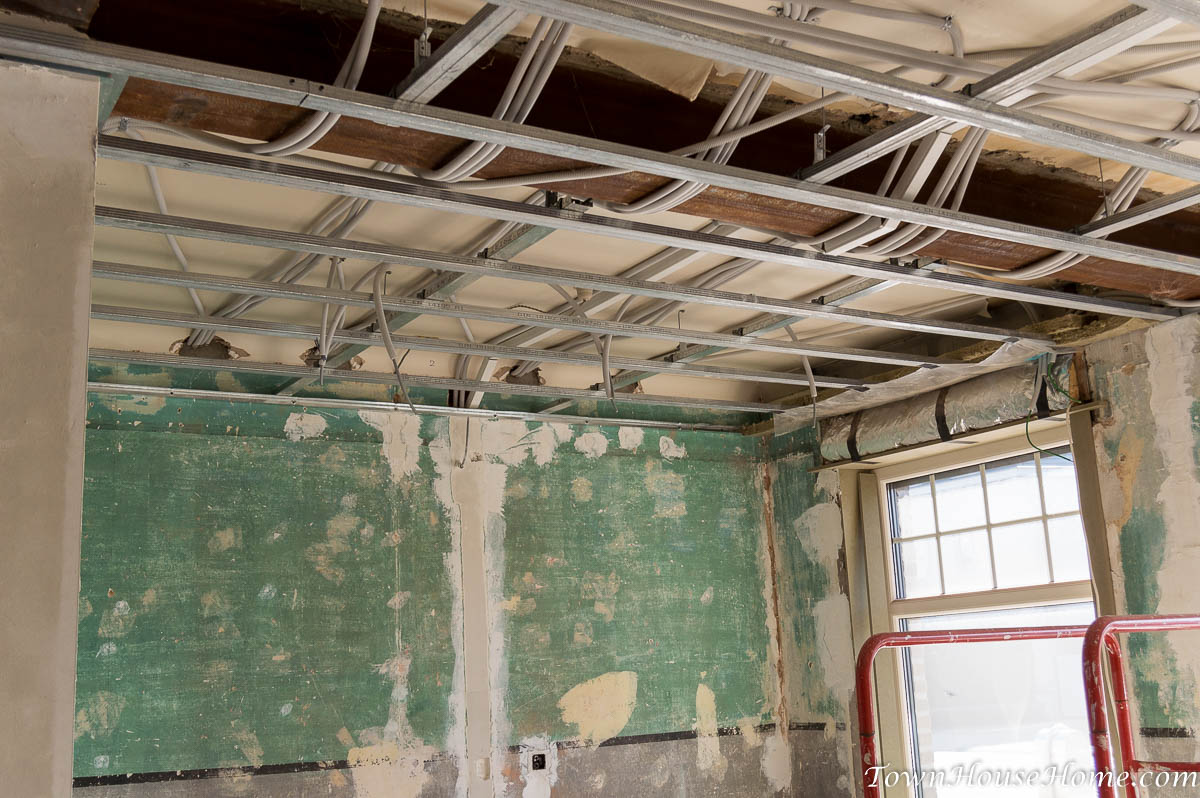
The other side of the beam to be encased:
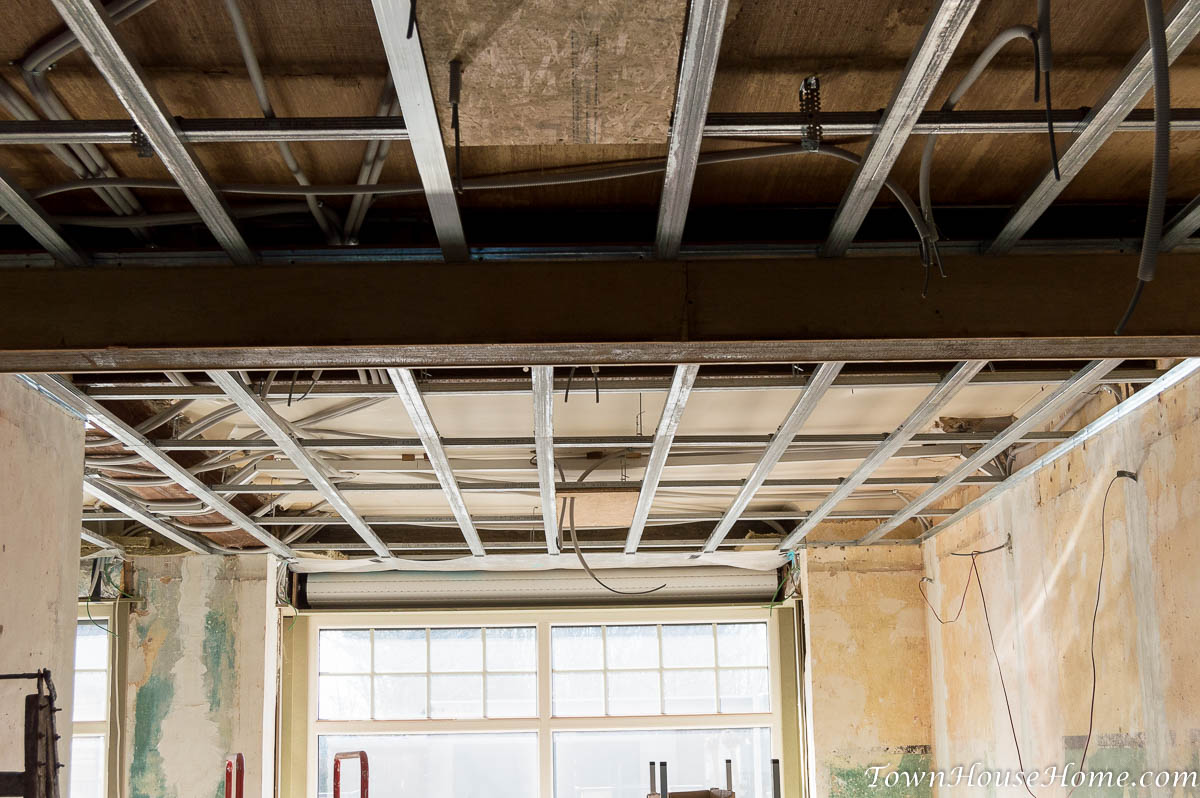
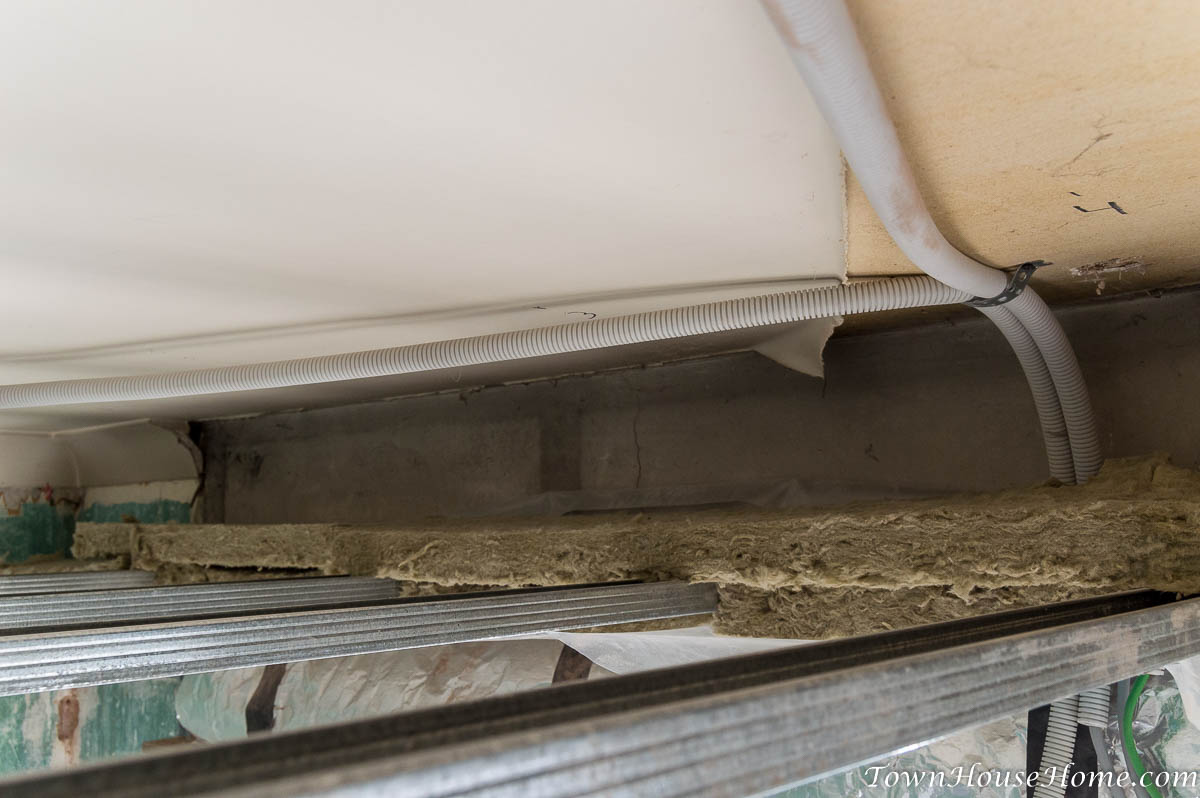
As the ceiling is lower than the window opening, I was afraid any cold could get through there above the drywall ceiling. To prevent that from happening, I pushed some insulation between both layers of studs, and a plastic sheet underneath to protect the insulation against any moisture. The blue tape is a leftover from the vapour barrier in the kitchen, specifically made to get things air-tight around the cables:
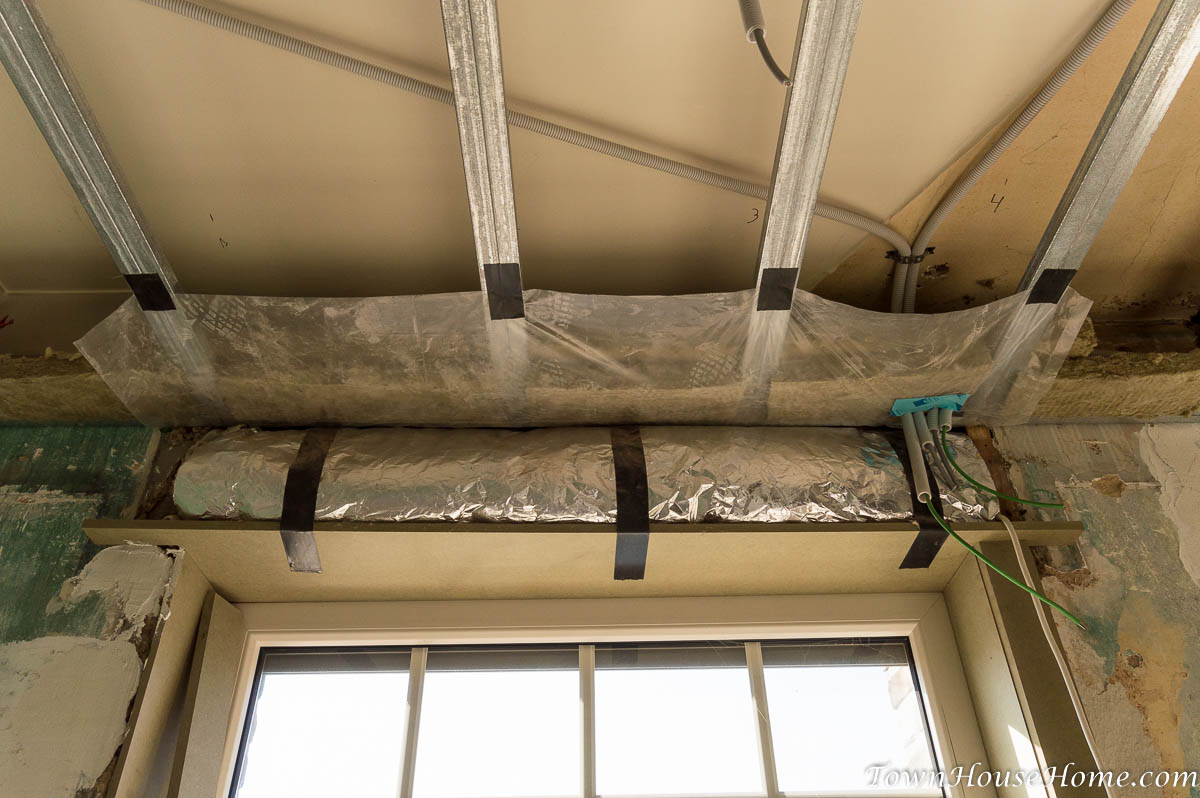
Same thing in the bay window:
One step closer to a finished living room, onwards!
