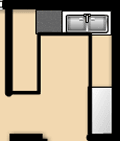
 When we bought the house there was this kitchen in it, in kind of an U-shape. One leg of the U against the wall, the lower part underneath the window, and then the other leg of the U being some kind of counter. This leg also had around 70cm of wall going up all the way to the ceiling, which we thought would be easy to knock out once the kitchen was gone. This all in a space of around 3m X 3m, with an extra 3m X 3m on the other side of the counter (you can see how it’s located in the tour). Just keep the description in mind when going through the pictures in this post.
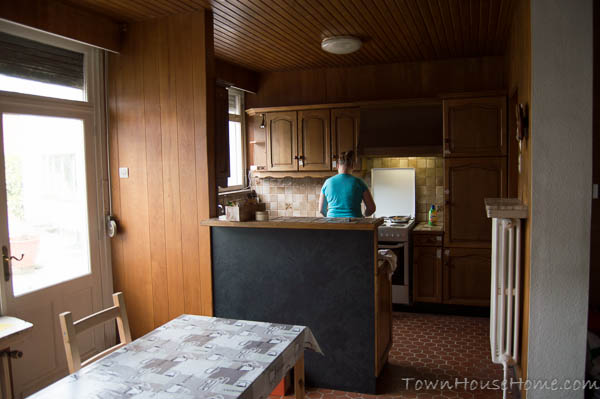
It was one of those built-to-last-a-lifetime oak kitchens that have been placed by the dozens in the sixties or seventies, when we presume our house has undergone a previous renovation. I know I have seen the exact same looking doors and tiles on a lot of photos from houses for sale, built around that period, guess it was a popular (dare I say “modern”) choice back then. Oh the irony of it looking outdated as … (you fill in the void). So it had to go.
Yes, you have read that right, out goes the kitchen! Temporarily, for a few months, we’ll live without kitchen. At least that’s what we thought right before diving in. We were lucky enough to have a replacement already standing by, so we could move all things from old cupboard to temporary cupboard. By the end we had an empty kitchen, ready to tackle full force, head on and whatever more description you can think of.
First a last glimpse of how it was:

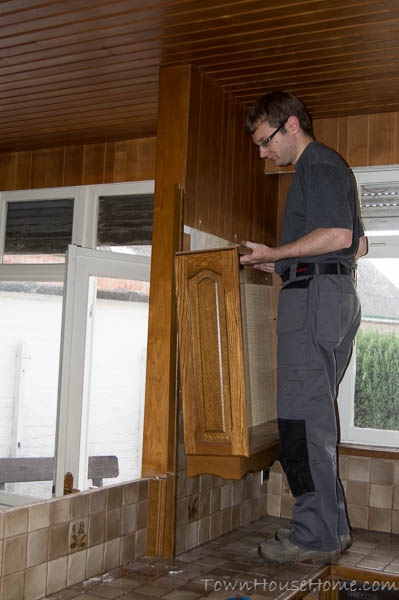
And then we could start removing cupboards! Before stepping onto the counter I did try it out cautiously. No need to end up on emergency because the counter collapsed, taking me down with it. The first one to go was a hang-alone one:
To make things easy the previous installer provided a nice collar underneath, spanning across multiple cupboards. Thank you, now we had to remove that before we could take anything else off:

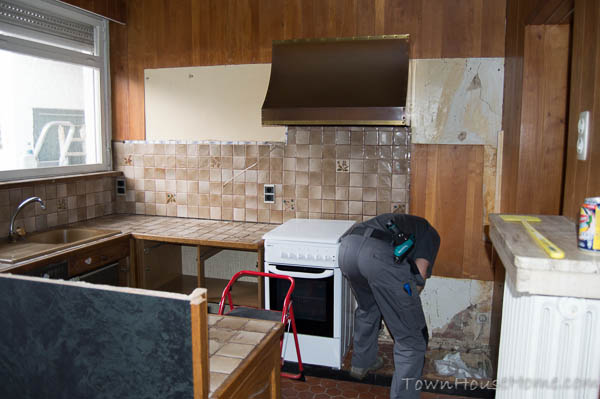
Then we bumped onto the exhaust hood.

Now let me tell you something about our exhaust hood. It was one stubborn, heavy mother-you-know-what. One of the kind that you shouldn’t be tackling alone. You’d need at least three people to get that thing down safely. So for now, we let it hang and went to the next, high cupboard next to it. We tilted that one forward, and then carried it out the back door, leaving an empty space with a surprise:

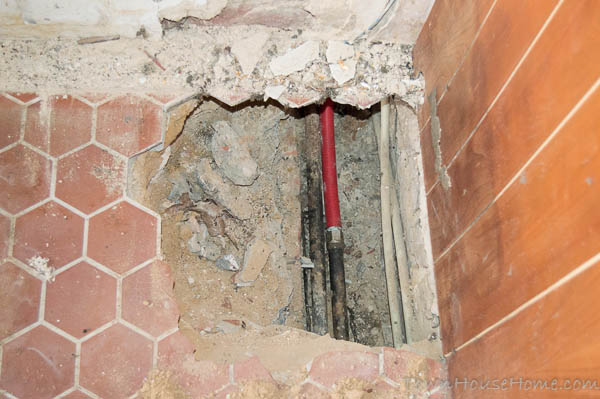
Seems like there had been an issue with the central heating to the kitchen once, which had been fixed by breaking away part of floor underneath the cupboard, replacing part of the tubing and then just stuffing a bag in the hole instead of filling it up again. Don’t you just love shortcuts? Not that it mattered, as we always had in our mind to replace the kitchen anyway.
Then we moved the stove out of the way (that was a new one we had to buy when moving in, as the old one was broken), so that we may sell it later on when we no longer need it:
And then the fun really began…
Disclaimer: yes that’s a cliffhanger to end with, the next part is coming in a few days…