
We have an old (well, somewhere between 40 to 50 year I guess, but your guess is as good as mine) travertine floor in our living room. It was one of those things of the house that we were attracted to. However, it probably never had seen any attention except the regular weekly cleaning. All those years had started to take its toll, so we had to do something, now that we had the opportunity. After all, when would the next time be that the entire living and dining room area would be completely empty? Most likely when hell freezes over, so it was now or never.
Some of the things that needed fixing: there was grout that was coming loose…

… there was an area in which the tiles had developed pitting…

… and there were some minor scratches (I still wonder what could have possibly made those)…

Everything starts with an empty space (something I never thought possible, but somehow we accomplished this amazing condition!). Well, except for the broom and bucket in the photo, a remnant of me going all over the floor, swiping all dust together.

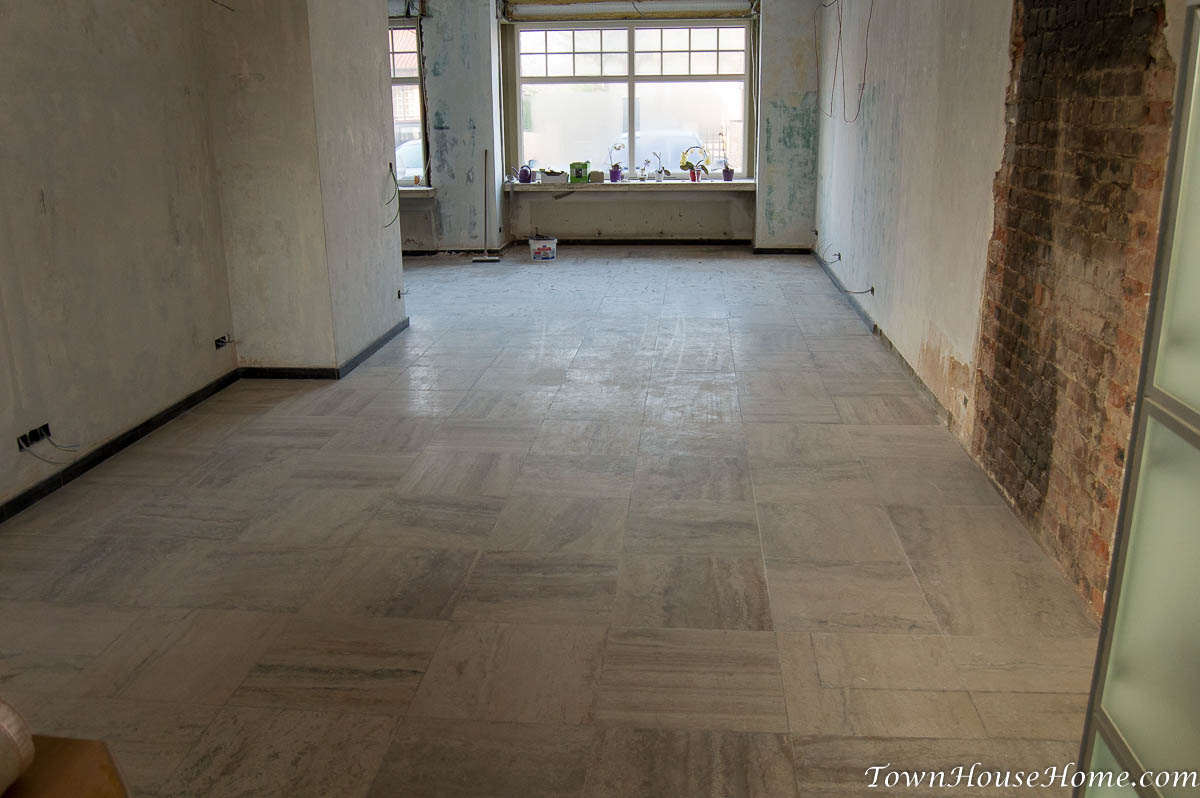
Something you probably didn’t notice (kudos if you did): that large sinkhole left over from the destruction of the fireplace had been filled up as well. Two rows of four tiles each, and if you look closely you can spot them in the photo above. We were very lucky that we found exactly 8 leftover tiles on the second floor of the side building. Exactly what we needed!
We didn’t do the actual floor revival ourselves (in hindsight, maybe we could have). We contacted a few contractors specialized in this kind of work, and ended up going with the one that gave us the best explanation, possibilities and answers to any questions we had.
When the day came for them to start working, the first thing they did was to seal off (well, kinda) the opening to the kitchen:
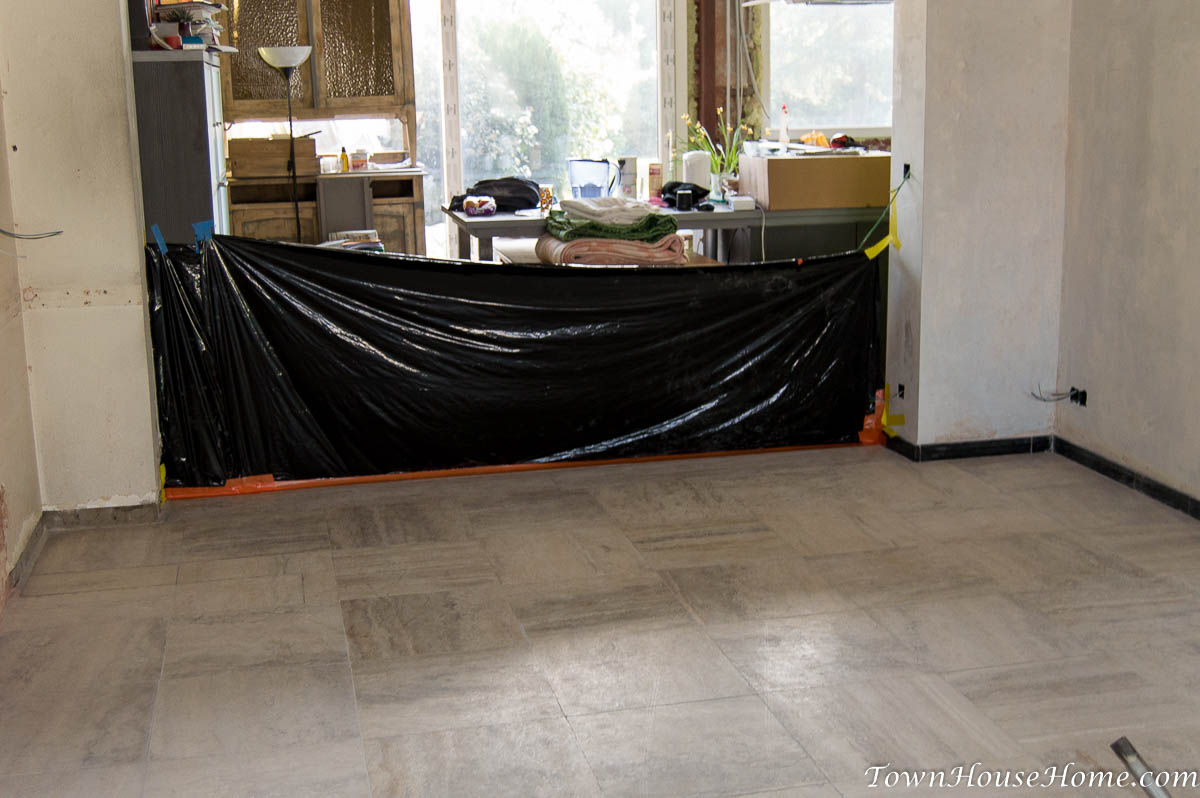
If that black plastic would have been transparent, you could see the table underneath the island, and the radiators on a cart underneath the table, and all other stuff that needed to get out of the living room.
Then they hauled in the heavy machinery:
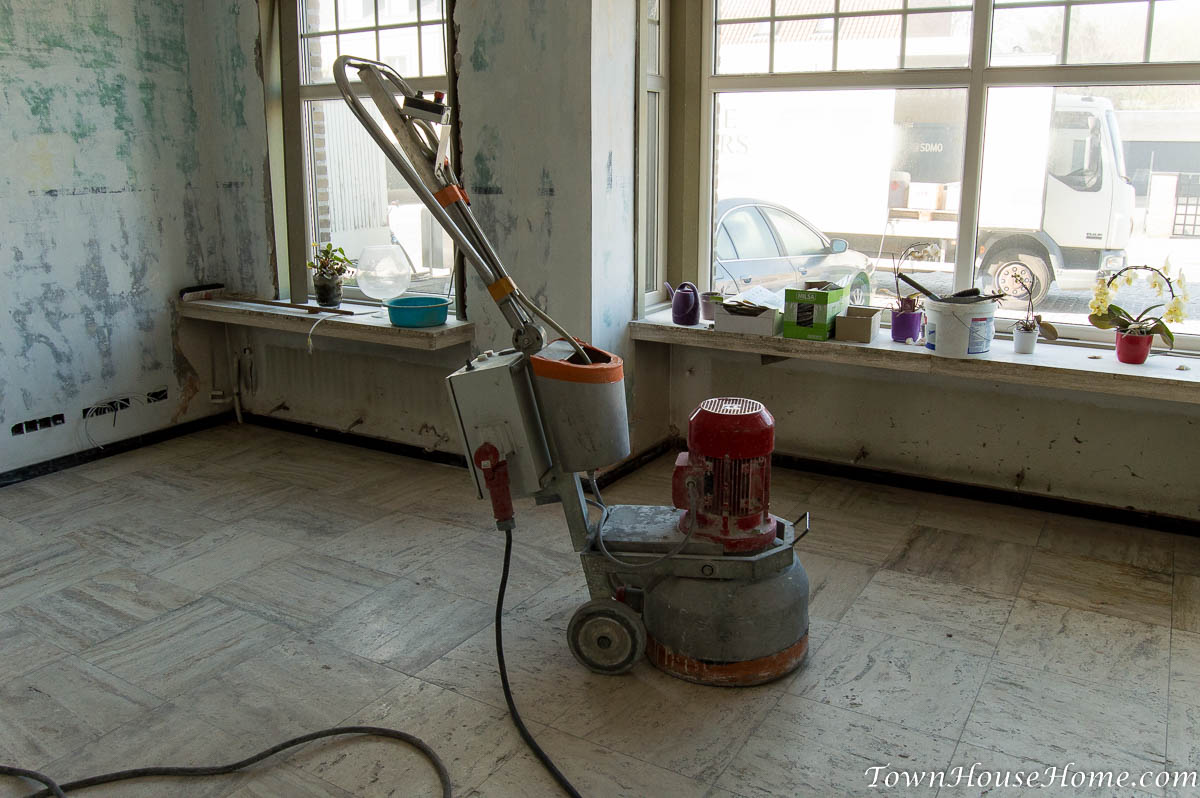
That thing will grind down our tiles just enough that it removes a dirty top layer. It does so by wet grinding, hence the black plastic to shield off the kitchen. To get rid of the goo it will produce, we have this sucker:

Yes, that is a wet-and-dry vacuum cleaner. An industrial model, apparently.
Then it all started.

It’s only once they got started how apparent the need for this renovation became:

Top of the photo is a part underneath the windowsill they couldn’t do with the big machine (so top is old, bottom is renewed). It has been vacuumed dry, so the difference you see is the actual difference. My guess is its some mixture of wax, nicotine, tar and whatnot, built up over the years, that came off.
They did a number of passes over the floor, each time getting less and less coarse in grit.

After the sanding they had to fill all holes that had appeared. For this they used a mixture of white cement and some kind of colourant, to match the tiles’ colour. Once that was done they were ready and took off. It was my turn again. Time to go over the floor with a mop, getting that floor to shine.

It’s not visible yet, but we went for a honed finish. A lot of mopping later it does show:

Just look at that smooth silky satin glow!
I still don’t know how I feel about the end result though. When they left and I could mop the first time, my mop was almost ready for the trash bin by the time I was done. I put on my investigator hat (no, not my robe and wizard hat) and found that every single tile was covered in blobs of cement that hadn’t spread out as it should have. Instead of a flat, smooth floor it was now a glorious mountain range of epic proportions. But smaller. I had to get on my knees and use a scraping knife (gently, I didn’t want to introduce new scratches now that we had come this far) to go over every single tile to get rid of the cement. My guess is there should have been some kind of final buffing step, instead of me doing it that way.
Remember the introduction, where I talked about pitting in some tiles? While crawling around on my knees, I found a couple of these still left unfilled.

If you’re aiming for a completely filled travertine (well, that’s what we were expecting), then that’s… a nuissance. Especially if there’s a premium in the quote for filling up said holes with two component epoxy. The one above? Partially filled with cement, not epoxy…
Another thing I saw were these scratches:
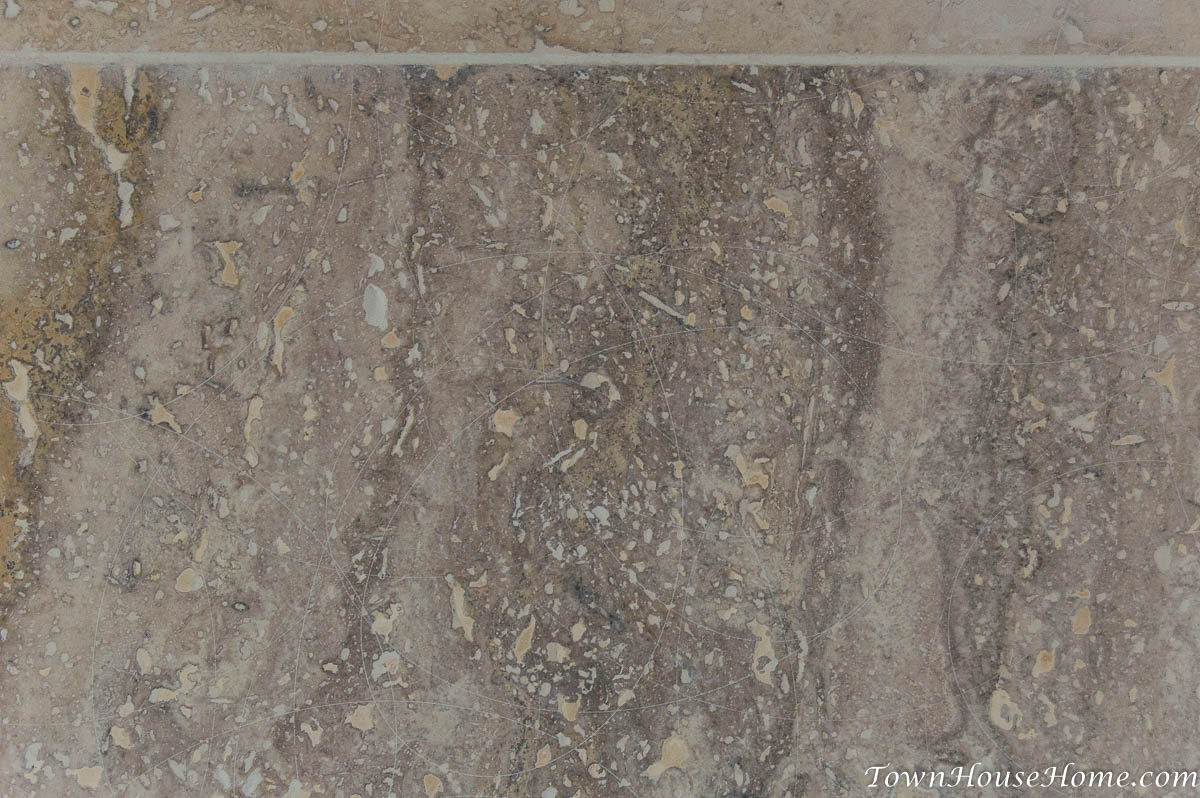
Probably made by a tiny basterd speck of cement that had already hardened while they were spreading the cement out.
I contacted them, sent a few pictures, and a couple of days later they passed by again, no further questions asked. They handled it well, only unfortunate that it had to be handled in the first place.
Did I already mention the quote stated that you shouldn’t finish your walls until after they had done their job? I had prepared the walls for the wallpaper already, finishing up all holes and such, but am I glad the wallpaper wasn’t up already:

Shit happens.
Something we only noticed sometime later was our windowsill. About half of it has scrapes of red paint against the edge:

I’ll go over it with a piece of fine grit sandpaper once the radiator underneath is up again. It should come off okay, but still…

Now that a couple of weeks have passed, I’ve noticed that some of the pitting has returned and some of the seams inbetween tiles have lost grout again. All in all, it looks good as long as you don’t take a good look. Maybe this is actually the best that could be done given the condition the floor was in to begin with. Maybe not. But had I known the end result (as of now) beforehand, I’d probably tackled a few areas myself first, instead of relying on “don’t worry, we’ll fix that, it’ll be like new”. Another project tackled, another lesson learned.