I have a confession to make: this post happened in two different episodes. There’s one that happened in between the floor and the fireplace installation and one that happened after the wallpaper. It seems more natural to tell it all in one go though, so I’m sure it will all make sense once you’ve read through, and you’ll forgive me for this bend in the time-space continuum I created. Just hang in there!
Cleaning the radiators
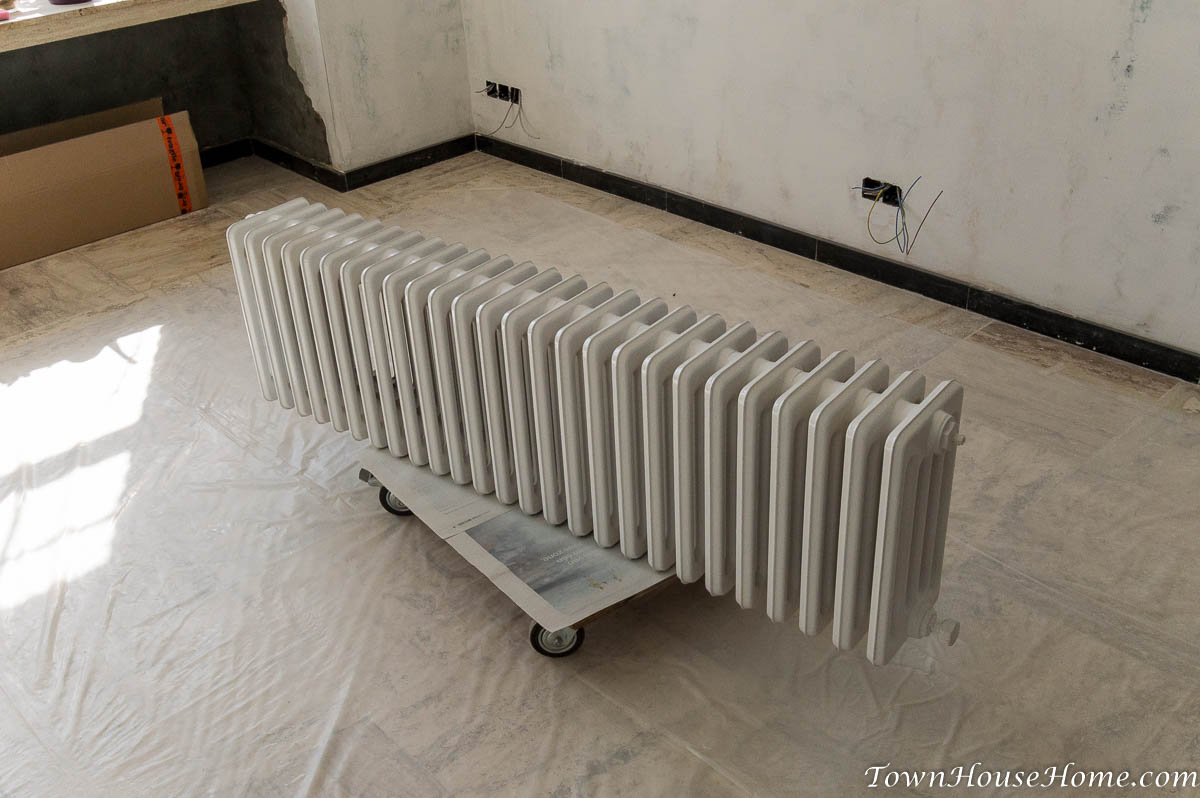
There were two old, cast iron radiators hanging in our living room. We have no reason to replace them with anything new, but for some reason they had to be removed from the wall anyway. Added bonus is that we’re able to give them a proper cleaning and have one reversed in place.
In case you didn’t know, these things are heavy. So heavy that I’m very glad that we got to use two carts (and some lifting power to get them on the carts), otherwise we wouldn’t have been able to move them one bit. You need four men to move one of these, and it will still not go easy. As our living room (in which they were residing) and kitchen are slightly elevated over everything else, that meant trouble getting the two of them out for the cleaning and then back in once cleaned.
We decided what all sensible people would decide: to clean them in place.
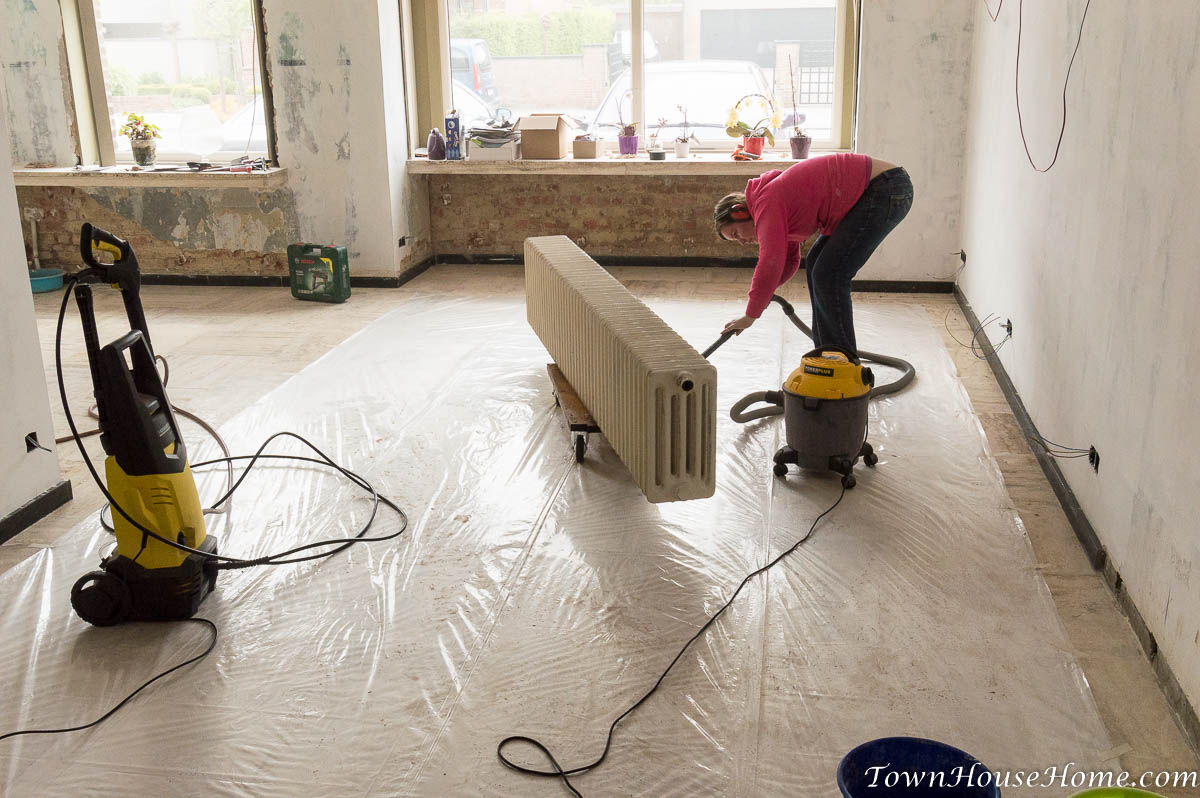
We got a large sheet of plastic, attached it to the floor with paper tape and rolled a radiator onto it. First I used the blow function on my vacuum cleaner to get most of the dust off, but it still didn’t look clean enough… That’s when we had the brilliant idea to use our pressure cleaner!
Before you call us crazy, we only took a very calculated risk here: the vacuum cleaner can also suck up water, so first we tested how that would go on the plastic before even bringing out the pressure cleaner. It passed the test, so the cleaner was brought into play, but only to start at roughly half its pressure potential. I also only took short bursts and made sure I aimed it only at the radiator. That way Chrisje could follow nice and easily with the vacuum, sucking up all water before it could even get close to the edge of the plastic.
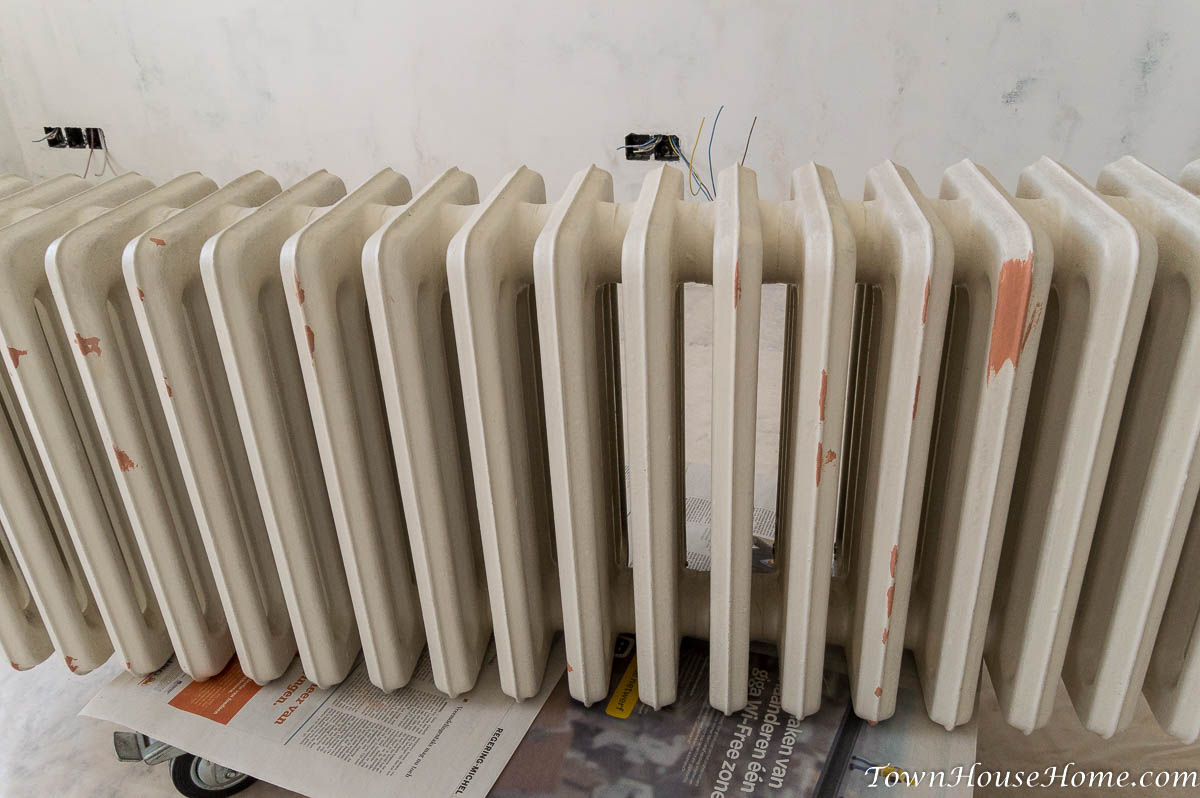
Once that was done, we could let them dry completely
Fixing things
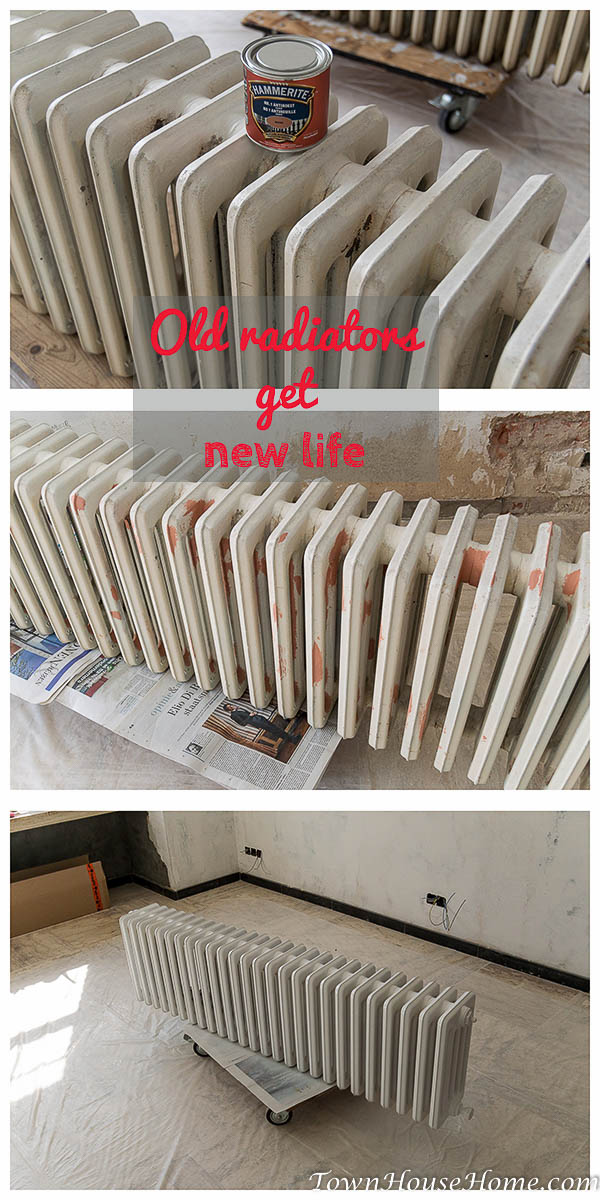
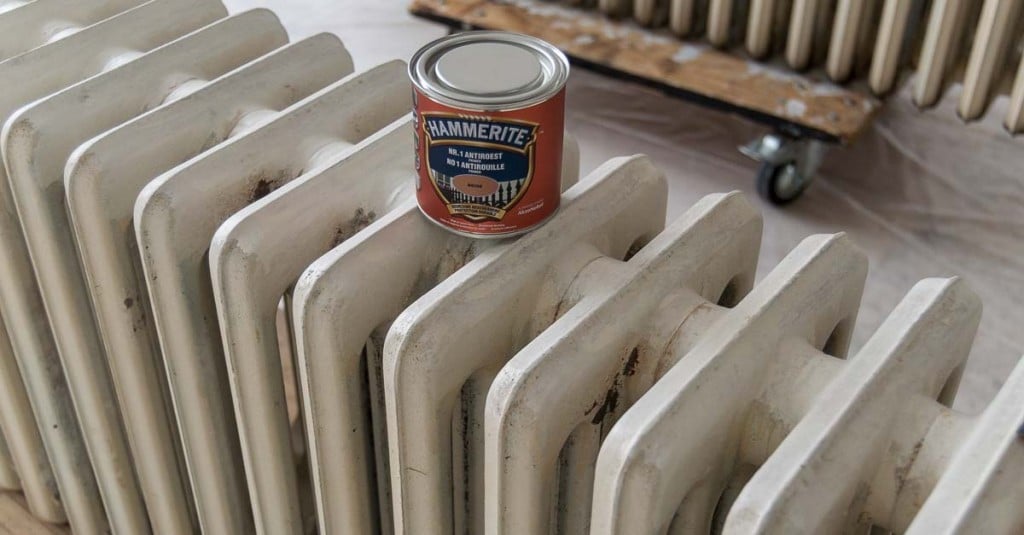
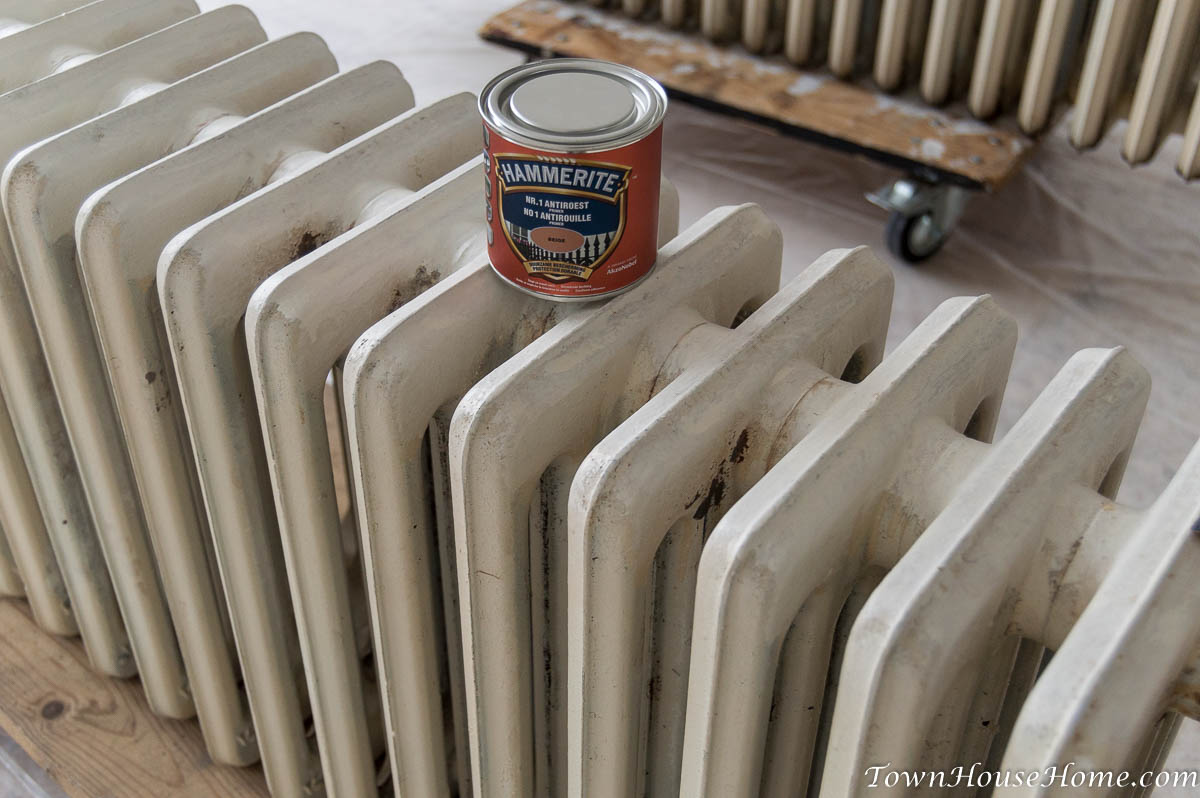
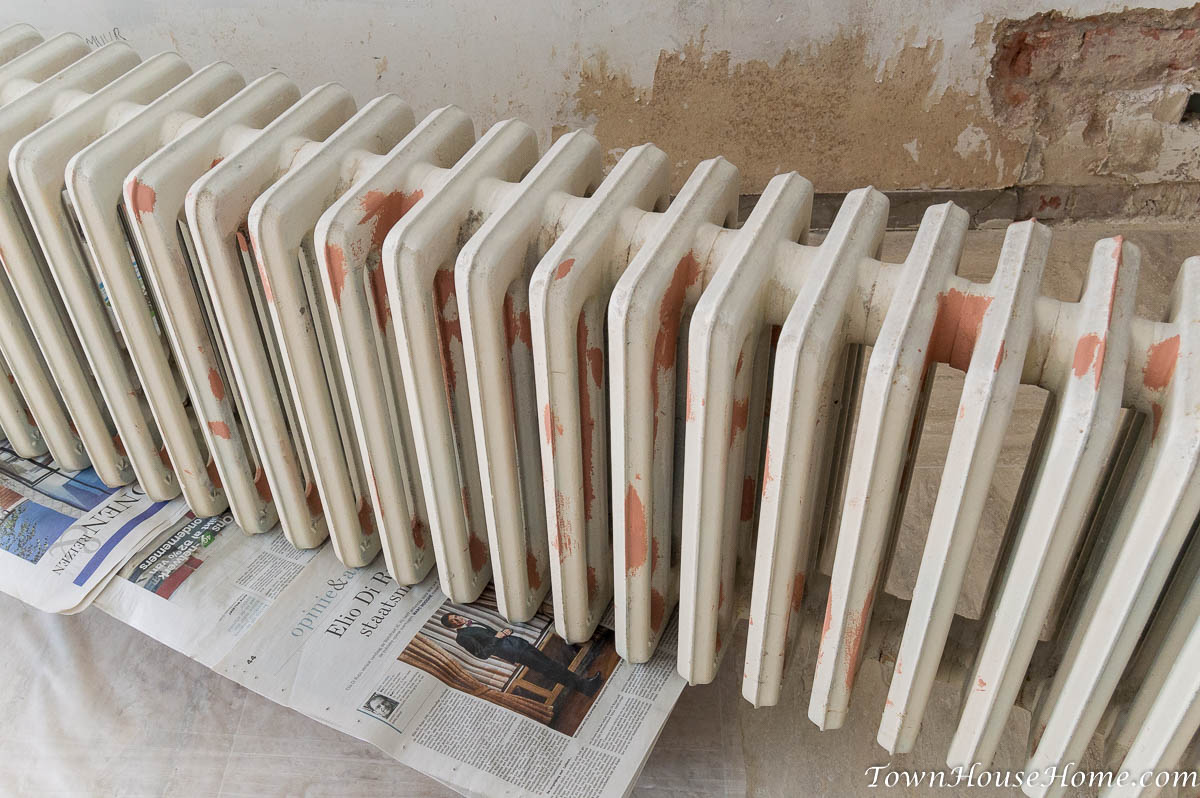
There were spots where they were a bit rusty, or where paint had flaked off. Since we already decided to paint them later in the process, now was the time to do something about that. I got a small bucket of Hammerite, a small brush and went to work
Yea, better overdo it a little than getting the rust come back, right?
Painting
Once the Hammerite was all dried out, it was time to paint. We went to our regular paint man and got a bucket of white solvent-based paint. The guy told me this should still have an advantage over water-based for this kind of application. I also got a bottle of paint thinner, as I was going to try spray painting on them.
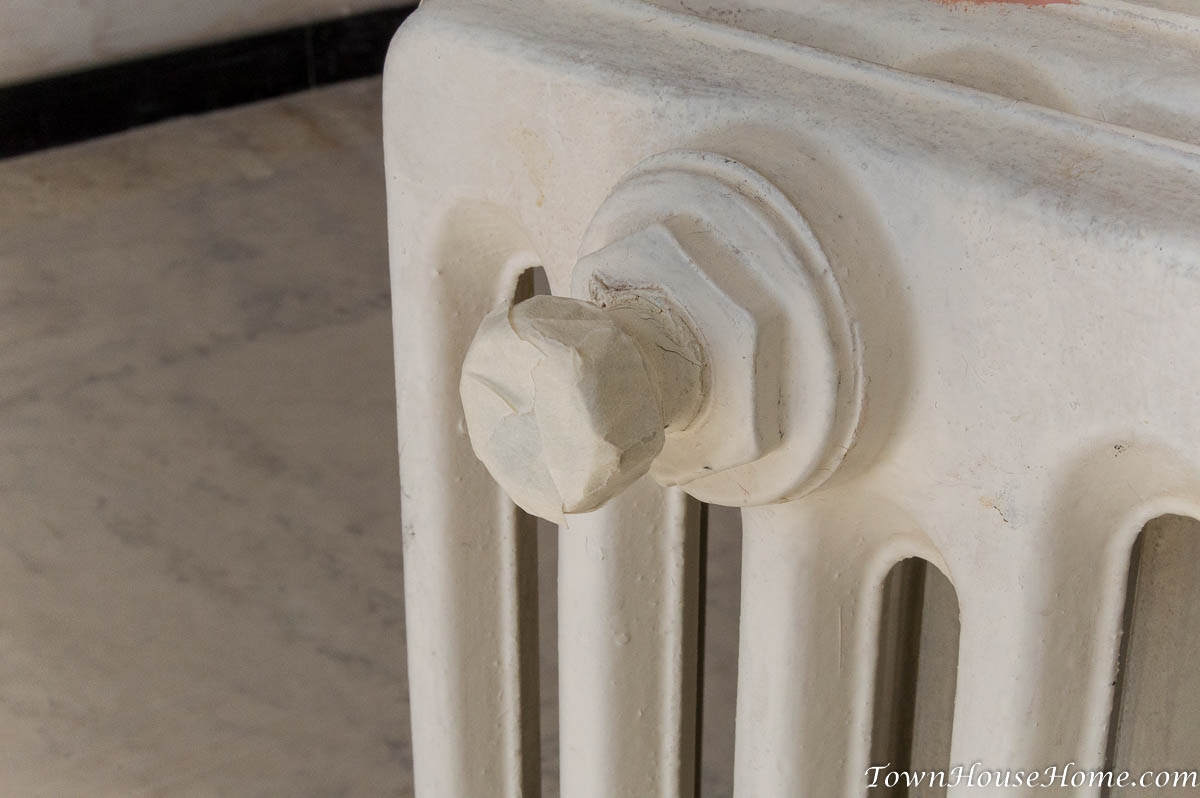
Before starting the painting process, I made sure every opening was properly taped of with paper tape. The water entry…
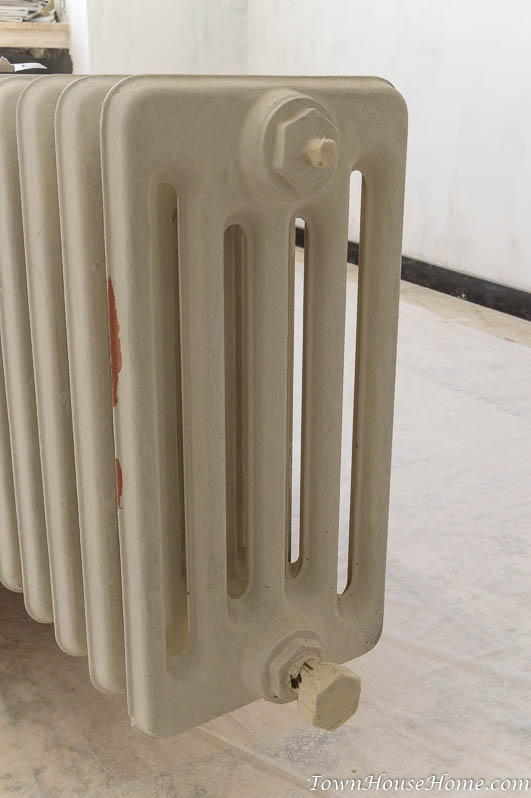
… and exit, and that tiny piece that allows you to let any air get out (because you don’t want any air in a central heating system running on water, it negatively effects the heating properties).
With the prep work done, I could start spraying. Spray painting isn’t that hard, all it requires is a little preparation and an ounce of guts to try things out. What I did were strokes of around 30 cm, making sure the gun stayed at relatively the same distance to the radiator while spraying. I started with a small flow of paint, and gradually opened up a bit. The trick here is that you want to put on a slither of a layer, allowing it to dry out quite fast, so that you can go over it again if it’s not to your liking yet, without risking too much wet paint (which will drip off, and you certainly don’t want that).
End result:
It’s certainly not perfect, but as they are tucked away underneath a window sill, with stuff going partly in front of them, I’m happy. Most of the imperfections aren’t visible from a meter away anyway.
Who’s up for some spraying?
Hanging them back
Once the walls were in prime condition, I also painted the supports for the radiator. Then the wallpaper could go on, and after all that, we could finally put them back in place. As we didn’t remove the floor, we didn’t have much choice but to keep the supply and drain lines visible again. I already provided new pex lines to the corner in the entrance, and with a little help from a friend some new copper pipe came to shine and connect the two radiators back to our heating system. The pipes got soldered together, and are supported to the wall every here and there so they won’t hang over time. All that’s left for me now is to paint the copper, but I’ll wait a little to see if no leaks appear once the system goes through some cycles of heating and cooling. After that, the pipes will get some white lovin’ too!
